Introduction
Our group members are Jonas Lemström and Aku Liski. Aku has some experience with blender and 3d printing, and both of us like gaming. Jonas has some experience with game development with Unity. Our prototype is auto-battler that uses Esp32 as platform, Waveshare 7.5 inch E-Paper as screen, few leds and a NFC reader. The game’s code includes functionality of the game and visual ques how the game proceeds.
Ideas
We had couple of ideas but quite quickly we fixed on kind of tabletop game, that would have some electronics and 3d printing, and we could code and get the features we’d want. After handling Arduino and Esp32 during class we brainstormed a bit and thought about how to create a game that would work with Esp32 or Raspberry Pi and decided to go with Esp32. The idea of a game was something that could be easily accessible and could be played with something that anyone has. That’s when we came up with using NFC cards as player toons taking inspiration from things like Nintendo’s Amiibo.
What did you need to learn
First we learned some innovation methods to flesh out ideas and collect them. From the ideas we landed on the one we liked and continued to develop it.
We’d need to think first what parts we need and then we could start to learn them. We started going from piece to piece. So first we ended up with ESP32 because it is a little bit simpler than Rasbery pi, and no need to learn a new OS just for this project.
We needed to learn about esp32 and all of its components and their code. One of the biggest things we learned about Esp32 was it’s limitations. Using E-Paper with NFC reader and having game’s code itself in the Esp32 made it run quite slowly. What was surprising was that how slow E-Paper was updating it’s screen with new imported images. When trying E-Paper solely the refresh rate was about 5-6 seconds with simple functions, but when integrating E-Paper’s code into the full code the refresh rate became 15-20 seconds. To make the game more functional we would have to import whole project to Rasberry Pi or make radical changes to our code for esp32 and use more networking.
We also learned a lot about innovating and problem solving like how to make NFC’s nametag work as generated character. First, we had to translate hexadecimal names of the NFCs into numbers and translate them into statistics of a player toon.
The building phases
First we tried to flesh out our idea. We also identified what components we could need (esp32, rfid reader/writer, nfc tags, display, leds and buttons).
Starting the project, we tried to get every component to work by itself and then starting to link them together. All of the components code we found from the internet. There are good resources for every component, so you need to find them, get them to work, and then modify it to suit your project. First we got the NFC reader to work and after that we moved to the e-display.

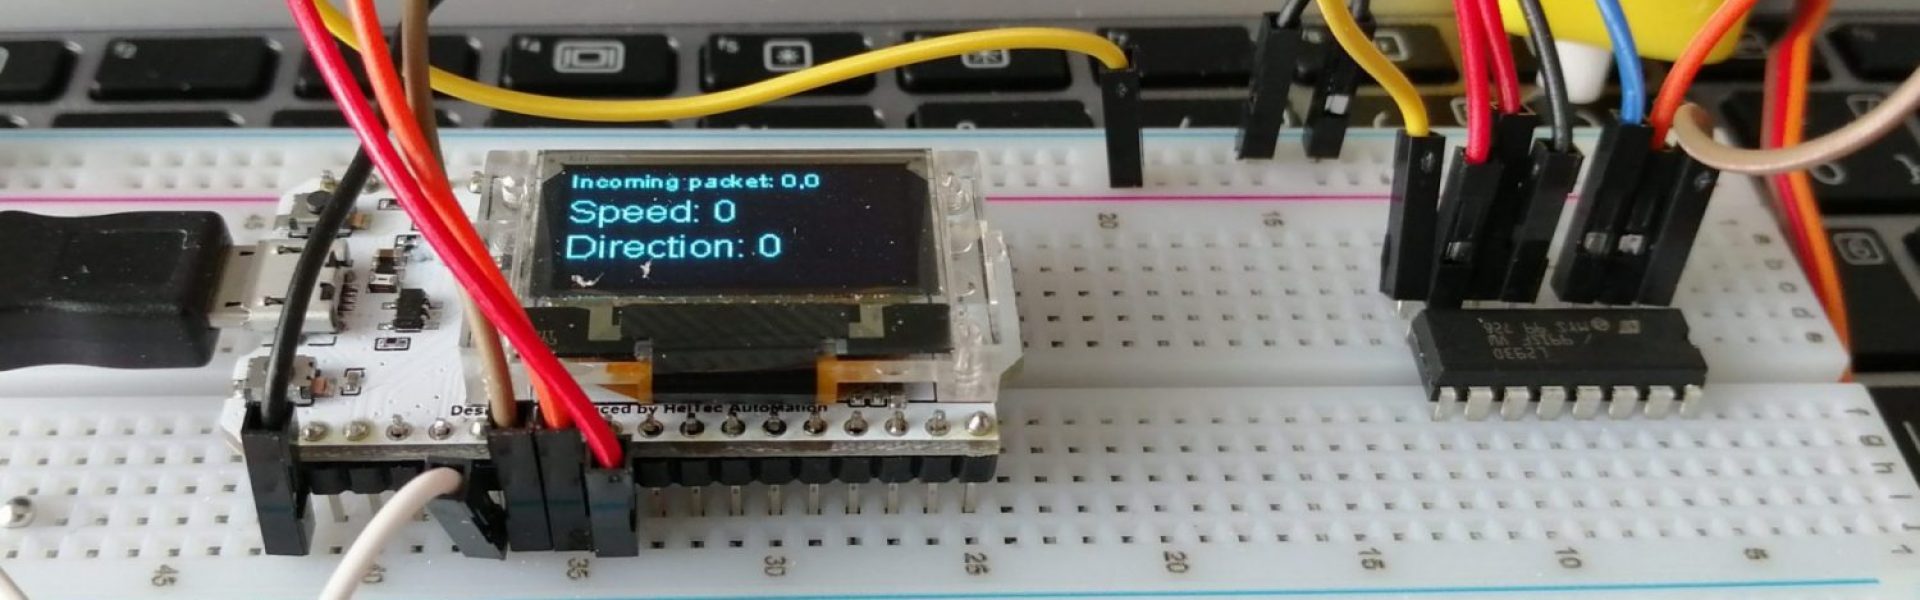
(First values read with NFC reader)
The screen was a little bit difficult to get to work, but eventually we got there. The hurdle was to get the first print to the screen, after that the screen worked as we liked. We even managed to get pictures imported to the machine and printed to the screen, but the upload time to esp32 was ridiculously long and so we put pictures on backlines and focused on the game logic.

(First printing to the e-paper)
We could code even without the hardware from home with website wokwi.com. There you can setup your esp32 platform and try code. It helped a lot on the coding side, as the code uploading was much faster and easier. We highly recommend this to anyone who is coding with esp32. There is even possibility to add sensors and other components but that requires more setup, but it might be worth it.

(with Wokwi.com we could try the code even at home without hardware)
After wo got the components to work on their own, we started to put them together. The wire mess was stressing, but it go better as we hot glued them to their places so we could move anything without being afraid of wires coming loose.

(Everything wired and working together)

(Final product in a box. NFC scanner is in front of the box and the button is to reset the player tags so you can play again.)
Link to video demonstration:
Link to the source code:
https://github.com/Akkel-i/Data_Duelists/tree/main/Data_Duelist_Game
The outcome
We learned a lot about creating our own prototype from scratch using creative ways to making a working game. The course also thought us about using C and C++ through Arduino IDE and create things that don’t have ready tutorials online.
We still have bunch of ideas how to make Data Duelist even better. Importing the game to Rasberry Pi or using networks to transfer game to internet rather than using E-Paper. If we had unlimited time to work on this project there could be possibilities to even create an app for phone.