Innovation and Prototyping course team: Rimi, Piia, Olli, Joonas
Our first main idea was to build a robot that would pick trash from the streets, but we concluded that it would be a tad bit too complicated to implement. Another idea we had was a shirt that changes temperature according to the users’ needs, but this too would’ve been difficult, if not impossible, to implement with the available resources.
We finally agreed on making a device that would let people know the possible free seats in public transportation. It would show red on all the occupied seats and green on all the free seats to make a public commuter’s life easier.
What we needed to learn
- How to build 3D-model seats
- How to use Arduino
- How to use an ultrasonic distance sensor
- How to integrate two codes to one and make it work
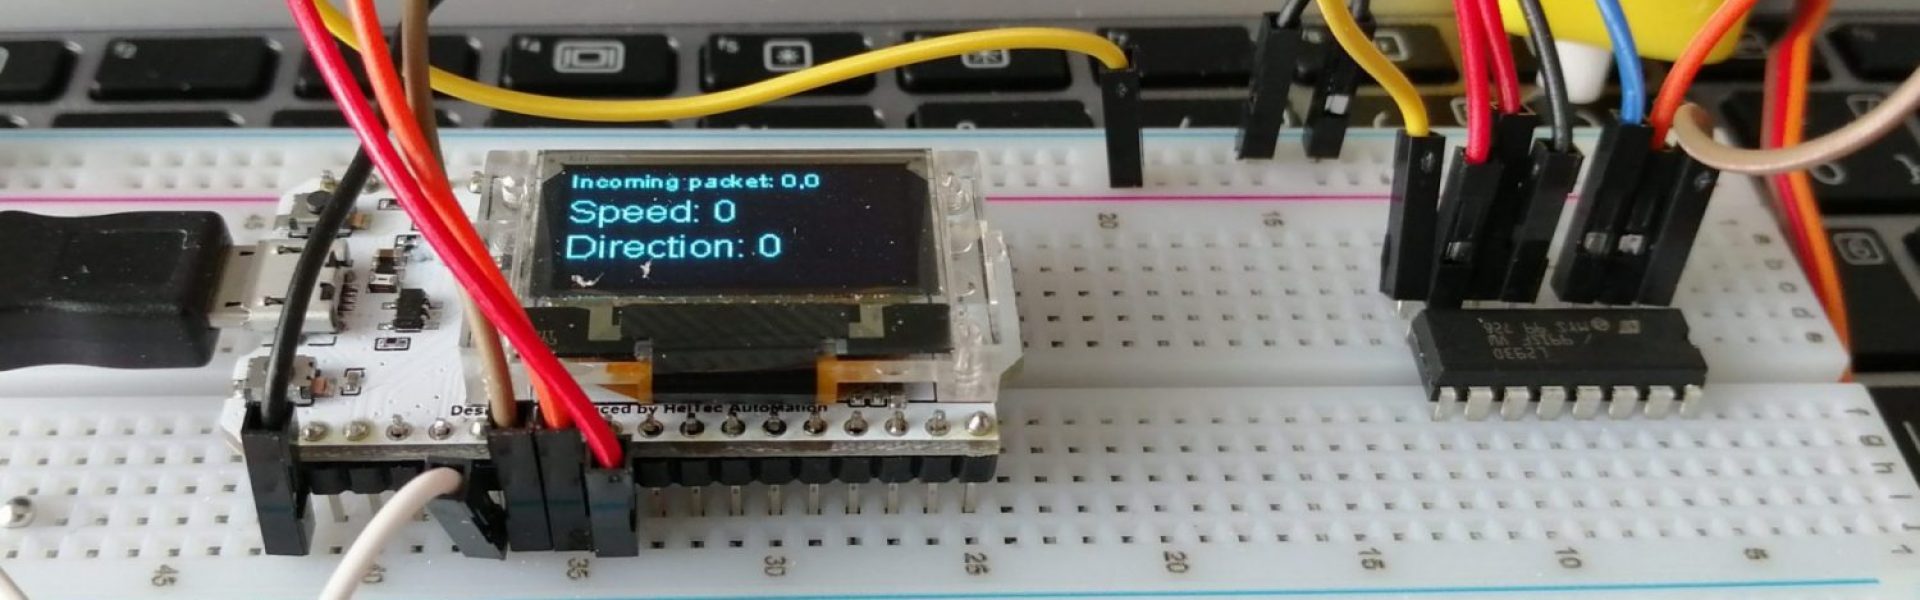
- How to connect all the wires and codes and send the data into a screen
- 6-3-5 method
- Lotus blossom technique
- Implementing existing codes according to our needs
First, we had to learn the basics of using Arduino. Here are two pictures of us making a led light turn on and off by pressing a button.

Next, we taught ourselves to connect the ultrasonic ranging module and Arduino. Then we ran the program and changed the existing code according to our needs. After we succeeded, we learned to connect a switch to Arduino, to show if the switch is on or off, which would help the code to indicate whether someone is sitting on the seat or not.

We were trying to figure out how to sync the ultrasonic distance sensor and the weigh switch to accurately indicate whether the seat was occupied (X) or free (0). We were struggling to understand and assemble the right code on our own, so we needed quite a bit of help from our teacher, Heikki.
Taking a break from the technical part of our project for a bit, we built our first draft of a dummy that we would be using to replicate a human being sitting on a seat.
We 3D printed our second seat. We also tried to cut a hole in the seat in Blender using Boolean tool, but it turned out to be challenging.
We also concluded that we’ll leave out the weight switch because it would make our coding much easier to only have the ultrasonic distance sensor, and we technically don’t need the switch. We were planning on adding it back only if we have extra time.
We added three more ultrasonic distance sensors to Arduino since we will be having four seats in our final demo. Yet again, we were struggling to get the code to work.

Next, we glued the seats to a piece of wood, representing a train seating system. In addition, we glued a wooden stick on top of the seats where we are going to attach the ultrasonic distance sensors and all the wires.
While Piia – our teams coding expert – was trying to figure out how to make the ultrasonic distance sensors to work properly on code, the rest of us were trying to work out how to have the wires go on the wooden stick in the most reasonable and visually pleasing way.
With some help from our teacher, Heikki, we finally got our code to work successfully; now, at last, we have four working ultrasonic distance sensors.
We started assembling the wires and figuring out the best placement for Arduino, breadboard, and the screen so that it doesn’t look messy. We were also trying to figure out the needed height and width of our dummy so that the sensors catch it.

We attached the sonar sensors to our prototype train. We also added some extra support for the pillars holding the sensor. We glued the monitor on to the board and changed some coordinates on the screen. Then we also taped the wires to make it look less messy. It all turned out well and now our prototype is almost complete. The last thing we need to do are some finishing touches for it to look visually appealing.

With some aesthetical additions, the final product looks like this:

The outcome
We learnt completely new skills such as, how to use Arduino, ultrasonic distance sensor and how to integrate two codes to one and make it work. In addition, we learnt to send the data into a screen. Before starting to build, we also had to learn the 6-3-5 method and the lotus blossom technique that helped us to start our path with innovation.
As a group we thought this was an interesting and new way of learning and we enjoyed this course as we got to do something new, but as far as future interest in tinkering goes, some of us liked it more and would like to do something like this in the future and some of us liked it less and consider this as a one-off thing.